
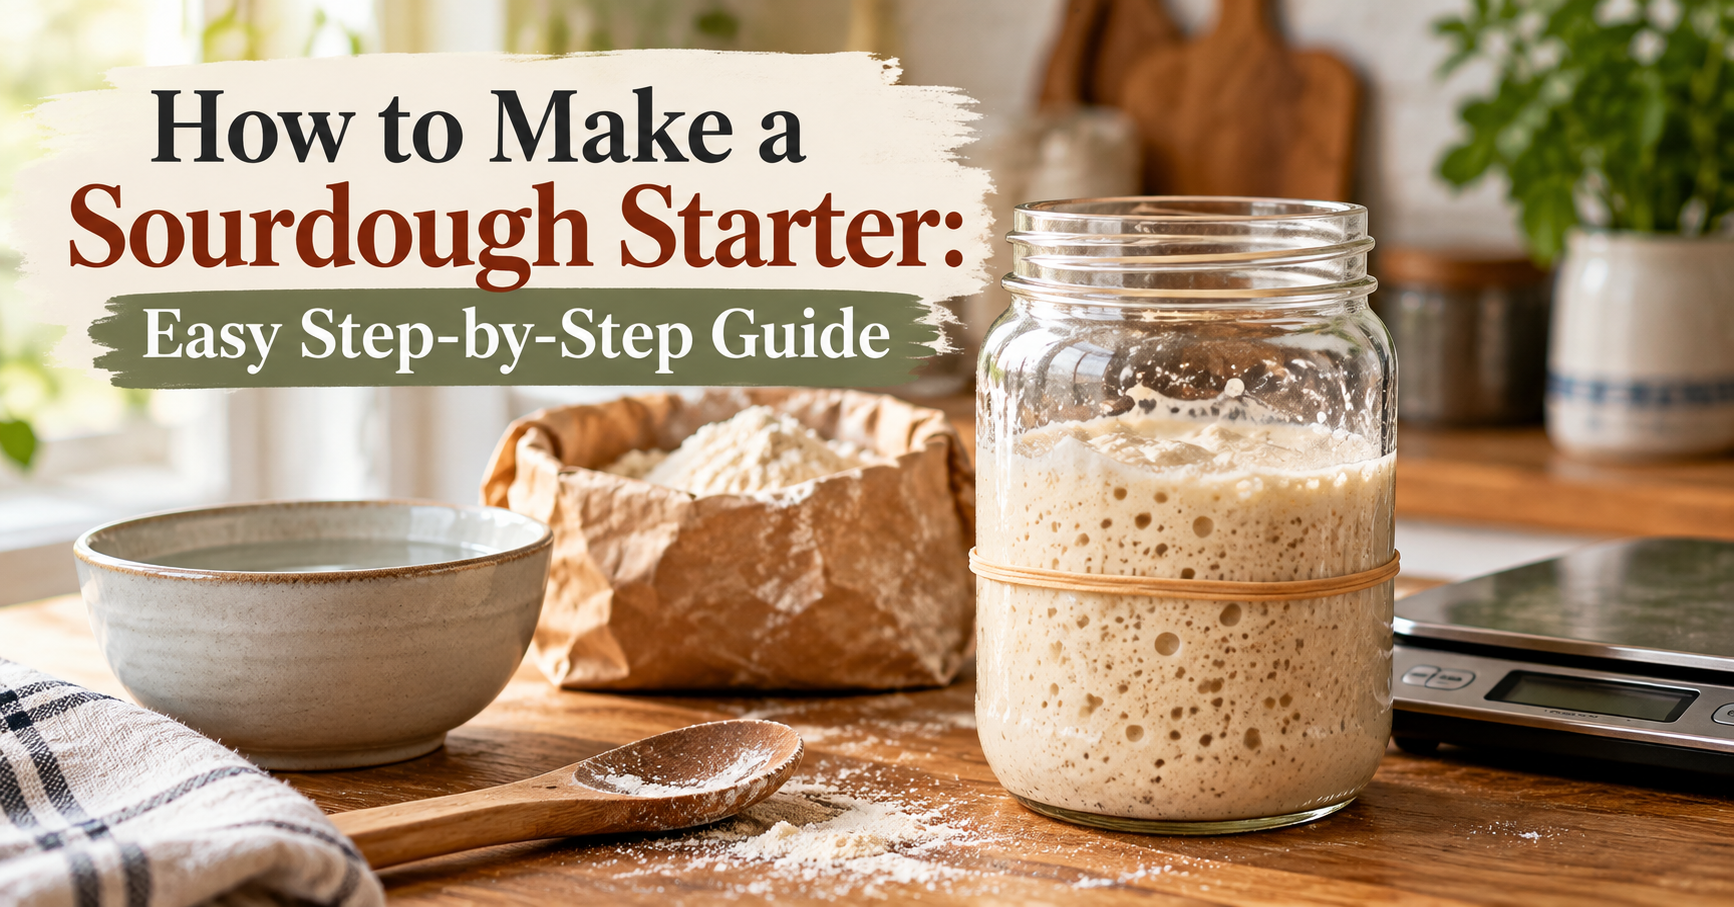

Learning how to make a sourdough starter is surprisingly simple: you need flour, water, a clean jar, and consistent feeding. Begin by mixing 50 grams of whole wheat or rye flour with 50 grams of water. Over several days, naturally occurring yeasts and bacteria develop into an active culture capable of making bread rise without commercial yeast.
Many starters become usable within about a week, while others need two weeks or longer. The important part is recognizing when your starter is genuinely ready, understanding normal fermentation changes, and maintaining the right feeding routine.
Sourdough Starter Recipe at a Glance
| Detail | Recommendation |
|---|---|
| Starting flour | 50 g whole wheat or whole rye |
| Starting water | 50 g |
| Standard feeding | 50 g starter + 50 g flour + 50 g water |
| Hydration | 100% |
| Feeding ratio | 1:1:1 by weight |
| Ideal temperature | Approximately 70–78°F |
| Expected timeline | Usually 5–14+ days |
| Ready for baking | Repeatedly doubles within about 6–8 hours |
| Best container | Clear, straight-sided glass jar |
| Cover | Loose-fitting lid |
These measurements follow the smaller-starter approach introduced in King Arthur Baking’s February 2026 recipe update.
What Is a Sourdough Starter?
A sourdough starter is a fermented mixture of flour and water containing microorganisms that help bread rise and develop flavor.
These include wild yeasts, lactic acid bacteria, and, in some starters, acetic acid bacteria.
Yeasts produce carbon dioxide, which creates bubbles and contributes to dough expansion. Bacteria produce organic acids and other compounds that influence flavor, aroma, and fermentation.
These microorganisms originate from several sources, including flour, equipment, hands, and the surrounding environment.
A peer-reviewed study of 500 sourdough starters found little evidence that geographic location alone determines their microbial composition. Ingredients, microbial interactions, and maintenance conditions all matter.
What Flour Is Best for a Sourdough Starter?
Whole wheat and whole rye are excellent choices for beginning a sourdough starter because whole-grain flours contain nutrients and microorganisms that support early fermentation.
| Flour | Good for starting? | Good for maintenance? | Typical behavior |
|---|---|---|---|
| Whole wheat | Excellent | Yes | Encourages early activity |
| Whole rye | Excellent | Yes | Often produces vigorous fermentation |
| Unbleached all-purpose | Yes | Excellent | Convenient, consistent |
| Bread flour | Yes | Yes | Works well but higher protein isn’t essential |
A practical approach is to start with whole wheat or rye, then switch to unbleached all-purpose flour for regular feedings.
Organic flour is not required. Conventional flour works, too. Unbleached flour is a useful default, but bleached flour is not automatically incapable of fermenting.
If all-purpose flour is the only option available, use it. Your starter may simply take longer to establish.
What Water and Equipment Do You Need?
Ordinary drinkable tap water generally works for sourdough starter. Bottled water is usually unnecessary unless your tap water is heavily treated or causes persistent fermentation problems.
Use cool water in a warm kitchen and lukewarm water in a cooler one. Avoid very hot water.
Gather a digital kitchen scale, a clean transparent jar, a spoon or spatula, a loose-fitting lid, and a rubber band or marker.
A scale is particularly helpful because equal weights of flour and water do not occupy equal volumes.
Cover the jar to prevent drying and contamination, but don’t seal it in a way that allows fermentation gas to build pressure. A loosely fitted lid is usually preferable to a cloth, which may let the surface dry.
How to Make a Sourdough Starter Day by Day
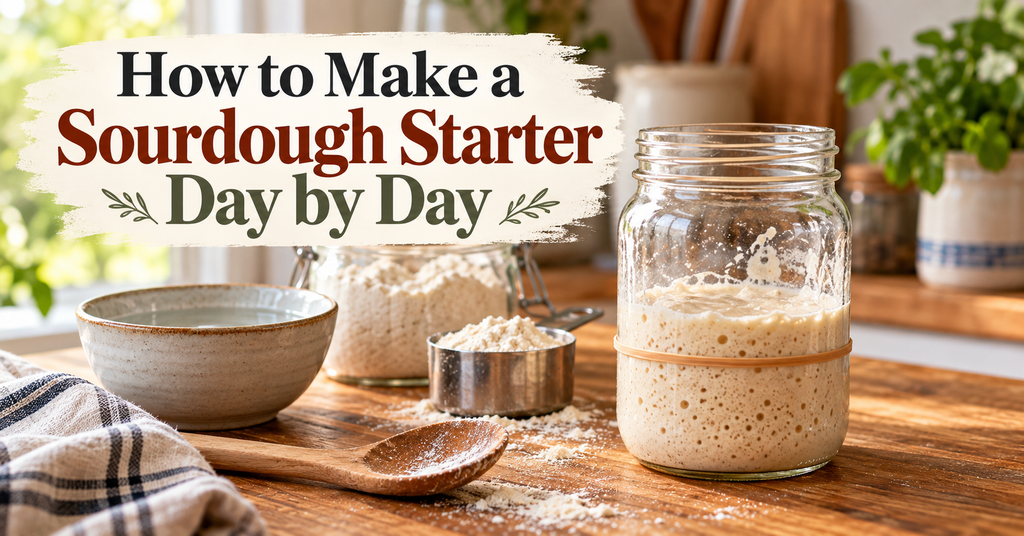
Day 1: Mix flour and water
Combine 50 g whole wheat or rye flour with 50 g water. Stir until no dry flour remains. Cover loosely, mark the starting level, and leave around 70–78°F for 24 hours.
No bubbles yet? That’s normal.
Day 2: First feeding
Keep 50 g of yesterday’s starter and discard the remaining 50 g. Add 50 g unbleached all-purpose flour and 50 g water.
Stir, cover, mark the level, and wait approximately 24 hours. The mixture may look inactive, slightly bubbly, or surprisingly expanded.
Day 3: Begin regular feedings
Keep 50 g starter and mix in 50 g flour and 50 g water. Begin approximately two feedings daily, 12 hours apart, following this schedule.
Activity may become dramatic or start slowing. Neither outcome proves success or failure.
Day 4: Continue through the quiet phase
Repeat the feeding routine every 12 hours. Keep 50 g starter at each feeding and add 50 g each flour and water.
An early burst of activity may disappear temporarily. Maintain consistent conditions rather than restarting.
Day 5: Look for repeatable growth
Continue the same feedings. Look for bubbles throughout, an increasingly tangy or fruity aroma, and measurable expansion after feeding.
Your starter might be ready, but only if it performs reliably.
Days 6–7 and beyond: Test its strength
Continue feeding if the starter hasn’t matured. Watch for repeated doubling in roughly 6–8 hours after feeding, bubbles throughout, and a predictable rise-and-fall cycle.
Some starters need 10–14 days or longer. Don’t throw yours away simply because it isn’t ready on Day 7.
This schedule is based on King Arthur Baking’s updated beginner method, with readiness determined by starter performance rather than a guaranteed completion date.
Why Did My Sourdough Starter Rise and Then Stop?
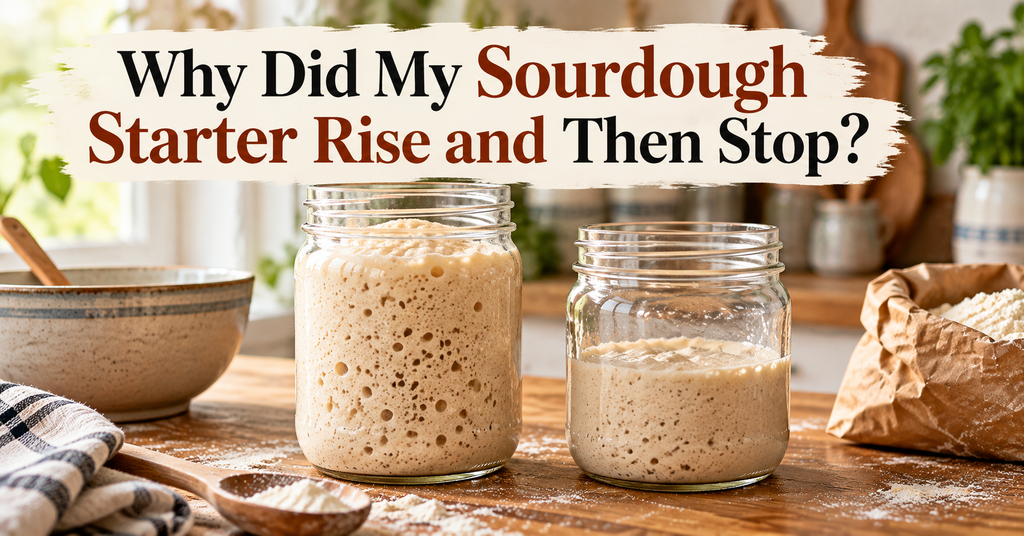
One of the most confusing experiences for beginners is watching a starter rise dramatically on Day 2 or 3, then appear lifeless.
This is commonly called a false rise or early bacterial bloom.
During the first days, different microorganisms compete and multiply. Some early populations produce noticeable gas before the mature sourdough community becomes established.
As acidity changes, the microbial population shifts. Visible activity can temporarily decline while other fermentation organisms become more established.
This quiet period doesn’t necessarily mean your starter has died.
Continue feeding consistently, check the temperature, and resist adding sugar, commercial yeast, or fruit as an immediate fix.
An early dramatic rise is not proof that the starter can reliably leaven bread.
What Does a 1:1:1 Sourdough Starter Ratio Mean?

A 1:1:1 feeding means using equal weights of existing starter, fresh flour, and water.
For example:
- 50 g existing starter
- 50 g flour
- 50 g water
The finished mixture weighs 150 g.
Different ratios can help control feeding schedules.
| Ratio | Starter | Flour | Water | General effect |
|---|---|---|---|---|
| 1:1:1 | 50 g | 50 g | 50 g | Standard beginner feeding |
| 1:2:2 | 20 g | 40 g | 40 g | Usually takes longer to peak |
| 1:4:4 | 20 g | 80 g | 80 g | More fresh food; generally longer fermentation |
Higher feeding ratios provide more fresh flour and water relative to existing starter. Under similar conditions, they generally extend the time before peak activity.
They do not automatically make a starter stronger.
Also, feeding ratio and hydration are different measurements. A starter containing equal weights of flour and water is at 100% hydration. Both 1:1:1 and 1:4:4 can maintain 100% hydration.
To create a physically stiffer starter, reduce water relative to flour.
What Temperature Is Best for Sourdough Starter?
A practical target is approximately 70–78°F.
Cooler temperatures slow fermentation, while warmer conditions generally accelerate microbial activity.
If your kitchen is below 68°F, starter development may take noticeably longer. Find a slightly warmer location, but avoid placing the jar directly against a strong heat source.
Some bakers use a turned-off oven with its light on. This can work, but oven lights vary, and some ovens become unexpectedly hot.
If using this method, check the actual temperature and never turn on the oven while the starter is inside.
A naturally warm countertop location is often easier and safer.
Why Do You Need to Discard Sourdough Starter?
Discarding controls the starter’s quantity and allows fresh flour and water to refresh the culture.
Suppose you have 150 g starter. If you continually add equal weights of new flour and water without removing anything, the mixture quickly becomes unnecessarily large.
Instead, keep 50 g, add 50 g flour and 50 g water, and return to 150 g.
During the earliest days of fermentation, throw away the removed portion. Wait until your culture is healthy and established before collecting discard for properly cooked sourdough discard recipes.
Once mature, reduce waste by maintaining smaller quantities. For instance, 20 g starter plus 20 g each flour and water creates a manageable 60 g batch.
The size of a starter does not determine its strength.
How Do You Know When Sourdough Starter Is Ready?
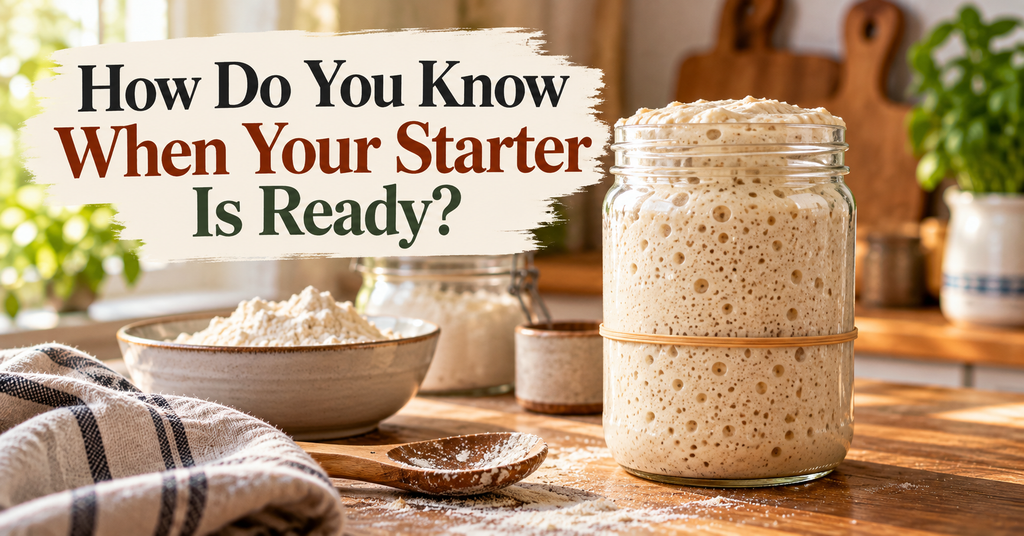
A mature starter should show repeatable, measurable activity rather than one impressive rise.
To measure growth, mark the starter level immediately after feeding. Record the feeding time, maximum height, and when the starter begins falling.
For example, if the mixture begins at 1 inch high and repeatedly reaches 2 inches within approximately 6–8 hours, that is strong evidence of useful fermentation activity.
The popular float test is less reliable. A weak starter may float because it traps gas, while an active starter may sink after being stirred or handled.
King Arthur Baking recommends judging rise performance rather than relying on flotation.
What Should Sourdough Starter Smell Like?
Sourdough aromas change as fermentation develops.
A healthy starter may smell floury, fruity, yeasty, tangy, sour, or vinegar-like. Alcohol or acetone-type aromas can occur when the starter has become hungry.
A sharp smell alone doesn’t necessarily indicate contamination.
However, visible mold, unusual pink or orange coloration, or a distinctly putrid or rotting smell are warning signs.
Use appearance and odor together when evaluating starter safety.
What Is Hooch on Sourdough Starter?
Hooch is liquid that can develop when a starter has gone too long without feeding.
It may look clear, gray, brown, or even very dark. In an otherwise healthy mature starter, this usually indicates prolonged hunger rather than immediate spoilage.
You can pour off the liquid or stir it back in before feeding.
Dark liquid should not be confused with fuzzy mold or pink and orange microbial growth.
King Arthur Baking notes that neglected starters with dark hooch may require several consistent feedings to recover.
When Should You Throw Away a Sourdough Starter?

Some starter problems can be corrected through feeding, while others require discarding the entire culture.
| Appearance or smell | Meaning | Action |
|---|---|---|
| Gray or brown liquid | Often hooch | Feed and monitor |
| Dark liquid on neglected starter | Often prolonged hunger | Refresh repeatedly |
| Alcohol or acetone aroma | Often hunger | Feed |
| Pink or orange streaks | Possible contamination | Discard entire starter |
| Fuzzy mold | Contamination | Discard entire starter |
| Putrid or rotting smell | Possible spoilage | Discard entire starter |
Never scrape visible mold from the top and use the starter underneath.
Discard the entire contaminated culture, clean the container and equipment thoroughly, and start again.
Why Is My Sourdough Starter Not Rising?
A sluggish starter doesn’t always need to be replaced. Diagnose the problem before changing your routine.
| Problem | Likely reason | What to do |
|---|---|---|
| No bubbles | Young culture or cool temperature | Continue feeding and check warmth |
| Rose once, then stopped | Early microbial transition | Maintain consistent feedings |
| Bubbles but no rise | Immature starter or poor gas retention | Weigh ingredients and monitor longer |
| Very fast rise and collapse | Warm conditions or small feeding ratio | Adjust timing or feeding ratio |
| Dry surface crust | Excess airflow | Use a better-fitting lid |
| Acetone smell | Hunger | Refresh starter |
| Hooch | Extended time without feeding | Feed and monitor |
| Pink or orange streaks | Contamination | Discard |
| Visible mold | Contamination | Discard |
If a weak starter repeatedly fails to develop, consider adding some whole wheat or rye flour during feedings.
Avoid feeding every few hours when the mixture has barely fermented. Excessively frequent refreshment can keep diluting a developing culture.
Also consider consistency. A very loose mixture can produce bubbles without holding enough gas to show substantial height increase.
How to Maintain a Mature Sourdough Starter
Once your starter reliably doubles, you can choose maintenance based on how often you bake.
Room-temperature maintenance: For frequent baking, keep a small amount such as 20 g starter. Add 20 g flour and 20 g water for a 1:1:1 feeding. Feed according to activity and temperature; approximately every 12 hours is a common schedule for this ratio.
Refrigerator maintenance: If you bake occasionally, feed the mature starter, allow fermentation to begin, and refrigerate it. Refresh approximately once per week.
Before baking, remove the starter from the refrigerator and feed it at room temperature. Continue refreshing until it again rises reliably.
To build a larger amount for a recipe, combine 20 g active starter with 80 g flour and 80 g water. This produces 180 g starter using a 1:4:4 feeding, allowing you to bake while retaining a small portion for future use.
Don’t refrigerate an immature starter simply to avoid daily feedings. Establish reliable fermentation first.
Common Sourdough Starter Myths
| Myth | Reality |
|---|---|
| Starter must capture yeast from the air | Flour and other sources supply microorganisms |
| Every starter is ready in seven days | Development timelines vary |
| Floating proves readiness | Float testing can be misleading |
| Bottled water is mandatory | Ordinary tap water usually works |
| Hooch means the starter is dead | It usually indicates hunger |
| A larger starter is stronger | Fermentation performance matters |
| An older starter always makes better bread | Age alone doesn’t guarantee better activity |
Understanding these distinctions helps prevent unnecessary restarting, wasted flour, and poor baking results.
FAQs
How do you make a sourdough starter from scratch?
Mix 50 g whole wheat or rye flour with 50 g water. After 24 hours, retain 50 g and add 50 g flour and 50 g water. Begin regular feedings from Day 3 and continue until the starter reliably doubles within approximately 6–8 hours.
How long does it take to make a sourdough starter?
Many starters develop within 5–10 days, but some need two weeks or longer. Temperature, flour selection, microbial development, and feeding consistency influence the timeline. Reliable activity matters more than the number of days.
Can I make sourdough starter with all-purpose flour?
Yes. Unbleached all-purpose flour works for both starting and maintaining a starter. Whole wheat or rye can encourage early development, but you don’t need to purchase special flour to begin.
What does 1:1:1 mean in sourdough?
It means one part existing starter, one part flour, and one part water by weight. For example, 20 g starter combined with 20 g flour and 20 g water produces 60 g refreshed starter.
How often should I feed a new starter?
In this beginner schedule, feed once after the first 24 hours and again after the next 24 hours. From Day 3, feed approximately every 12 hours, while monitoring fermentation and avoiding unnecessarily frequent refreshment of a sluggish culture.
Why did my starter rise and then stop?
A dramatic early rise may result from changing microbial populations. As acidity increases and the community develops, visible activity can temporarily decline. This quiet phase is common and doesn’t necessarily indicate failure.
How can I tell whether my starter is ready to bake?
Look for repeated doubling within approximately 6–8 hours after feeding, bubbles throughout, a clean fermented aroma, and a predictable rise-and-fall pattern. Don’t rely on one rise or the float test alone.
Can I use tap water?
Yes. Drinkable tap water generally works. If your water smells strongly of treatment chemicals or fermentation consistently struggles, try filtered water and compare the results.
Can I use sourdough discard from the first few days?
It’s better to discard material from the earliest, unstable fermentation stages rather than cooking with it. Once the starter is mature and healthy, collected discard can be used in appropriately cooked recipes.
When should I throw away my starter?
Discard the entire starter if you find fuzzy mold, pink or orange discoloration, or a distinctly rotten smell. Gray or dark hooch and sharp alcohol-like smells are not automatically reasons to throw away an otherwise healthy starter.
Conclusion
Knowing how to make a sourdough starter means understanding fermentation rather than following a rigid calendar. Begin with equal weights of whole-grain flour and water, feed consistently, and maintain a reasonably warm environment.
Expect possible early activity followed by several quiet days. Use a marked jar to measure repeatable growth instead of depending on the float test. Once your starter reliably doubles within approximately 6–8 hours, it can be ready for bread baking.
With regular maintenance, a small starter can provide an ongoing source of natural leavening without excessive flour waste. Always discard a culture showing mold or pink or orange contamination.
Read more: How to Make a Latte at Home: Easy Café-Style Recipe

1 Comment
Pingback: How to Make Baked Macaroni and Cheese: Easy Recipe Copy Title